All of these components are externally attached to the engine and play a critical role in the function of a nitro RC. Let’s go in order as if you were removing your engine to clean, inspect, and rebuilt it.
Engine Mount
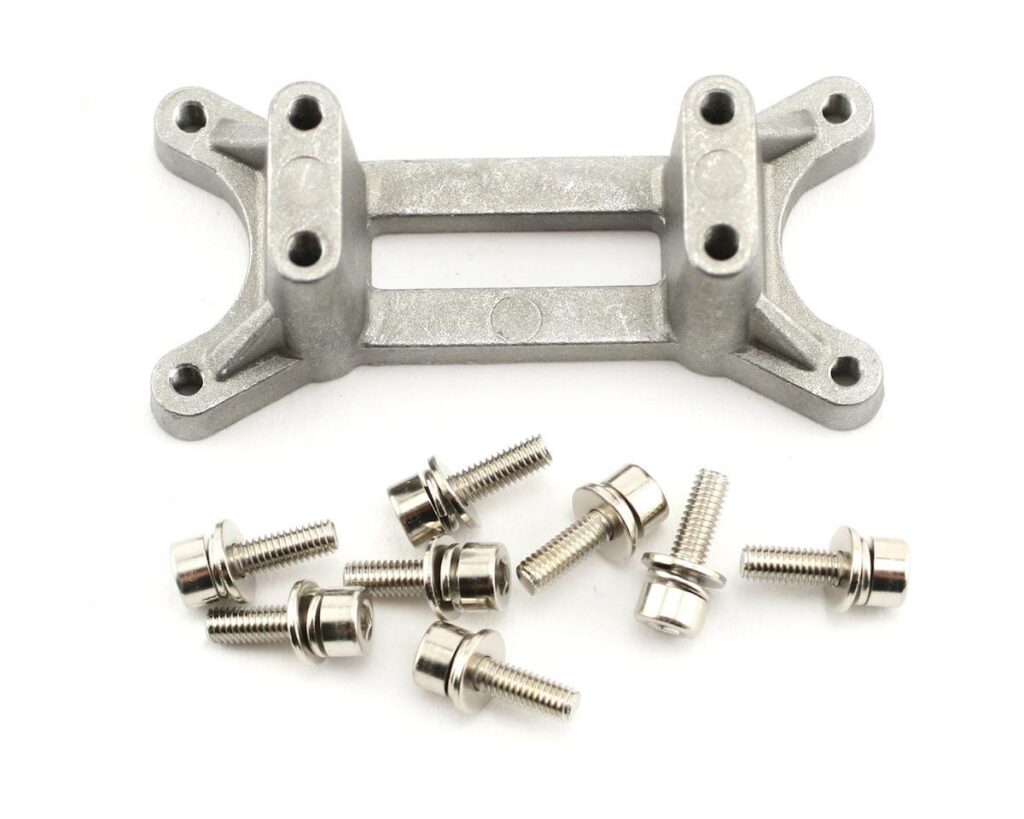
The engine is mounted to the chassis via the engine mount. This is a metal piece that the engine screws into from above and then is screwed into the chassis from below. The position of the engine mount is usually variable so that a proper mesh between the clutch bell and spur gear can be achieved.
To install the engine mount properly, attach the engine first and then very lightly snug the engine mount to the chassis so that it will stay put, but can be moved with a little nudge. Line up the clutch bell so the spur gear runs right in the middle of it and the teeth are engaging each other as much as possible while still spinning freely. I feel this is best done with your eyes and a little common sense, but a trick is to sandwich a single sheet of lined paper between the spur and the clutch, then screw down the engine mount and remove the paper.
The video below will help you make sense of the engine mount and how it affects the mesh between the clutch bell and spur gear.
Clutch and Clutch Bell
The clutch bell is a toothed gear that is attached to the end of the crankshaft and engages the spur gear. The clutch bell spins with the crankshaft only when the clutch shoes are engaged and the clutch shoes only engage when the engine has reached a certain RPM threshold. This prevents the clutch bell from spinning when the engine is at idle (the engine is always spinning!). The clutch shoes have springs that prevent them from engaging the clutch bell at idle. The springs can be changed to tweak the RPM at which the shoes engage the clutch, but for general bashing you typically want to stick with the springs that come with your RC.
Clutch shoes generally come in two materials: composite and aluminum. Composite clutch shoes are cheaper and wear out faster than aluminum clutch shoes.
If you’re having a problem with nitro RC’s wheels spinning at idle or your engine acting sluggish when accelerating from idle, it’s not a bad idea to take a look at the clutch, assuming you have a good tune on the engine. It’s likely the clutch shoes or springs are worn out or the clutch bearings are shot.
The clutch bell is removed by loosening a nut or screw at the end of the crankshaft. Keep track of any e-clips and washers included with the clutch assembly and the order of them on the crank shaft. Refer to the exploded parts view in your manual to confirm that these parts are in the right order and that nothing is missing.
The clutch shoes can be trickier, depending on the style of clutch. The stock clutch that comes with Traxxas nitro RCs are easy to remove as the spring wraps around the 2 clutch shoes and can easily be stretched and removed by hand or with the help of a small flathead screwdriver. Many nitro RCs come with a 3-shoe clutch that have 3 springs that each need to be removed with a small flathead screwdriver.
VIDEO: Rebuilding a Traxxas 2-shoe clutch
VIDEO: Replacing springs on a 3-shoe clutch
Flywheel
The flywheel is attached to the crankshaft, typically with a nut and conical washer. The conical washer is fitted onto the crankshaft, the flywheel fits on top of that, and then a nut tightens the flywheel down on the washer which grips the crankshaft. The flywheel spins with the crankshaft and makes the engine operate smoothly.
There are two ways to remove a flywheel from the crankshaft: the proper way with special tools and the common way with common tools. Special tools allow you to remove a flywheel without risking damaging it in anyway. This is important because damage to the flywheel can throw it out of balance and cause excessive vibrations when running the engine.
Flywheel Removal with Special Tools
To properly remove a flywheel without risking damaging the flywheel, you’ll need a flywheel wrench and a flywheel puller. Use the flywheel wrench to hold the flywheel while you loosen the flywheel nut. Then use the flywheel puller to safely remove the flywheel from the crankshaft.
Flywheel Removal with Common Tools
A flywheel wrench and puller are going to cost at least $30 for both and some time to be shipped to your door. Considering the cost and the unlikely event that the flywheel is damaged during removal, many nitro enthusiasts choose to remove their flywheel with common tools.
To remove the flywheel with common tools, use a big set of pliers to grip the flywheel while you loosen the flywheel nut. If you are worried about marring the flywheel with the pliers, put a couple layers of paper towel between the flywheel and the pliers. You then lightly hit the back of the flywheel with a plastic or rubber mallet to remove the flywheel.
Here’s a video showing flywheel removal with a flywheel wrench and a simple tap with the nut driver used to remove the flywheel nut.
When it comes to special flywheel tools, there are plenty of comments online that will support either side. Go with your gut and if you decide to use common tools, be as gentle as you can. Signs that a flywheel has been damaged are excessive engine vibration or premature wearing on internal engine components like the crankshaft, bearings, and connecting rod.